


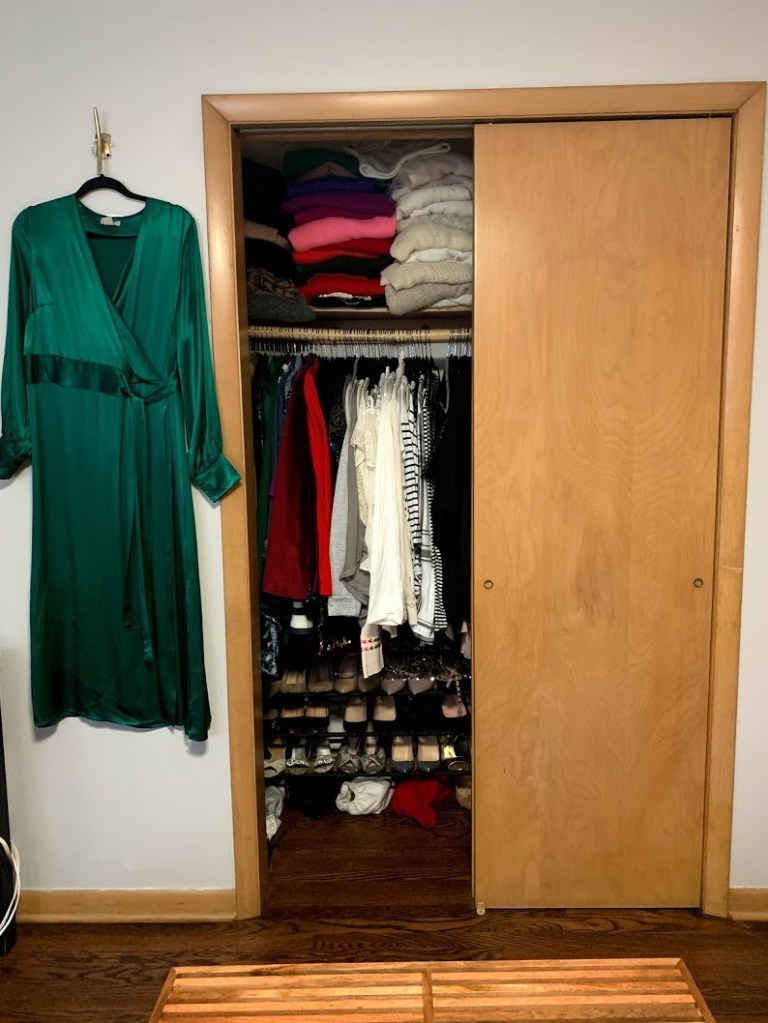
The first project we managed to get done while in quarantine has been our master closet refresh! In the past 3 years, we have gone through and updated every closet in our house and the master was our last.
Originally we had planned to use the Container Store closet system, but to save money, we opted for the Home Depot ClosetMaid trek system. This is not exactly the closet of my dreams, but its pretty darn close, plus we saved a TON of money!
Plus, this closet re-org allowed me to go through every item of clothing in this closet, and purge unwanted and unworn items. Check out my Poshmark Closet for my updated for sale inventory.
Here are the steps we took:

Step 1:
Clear out your closet
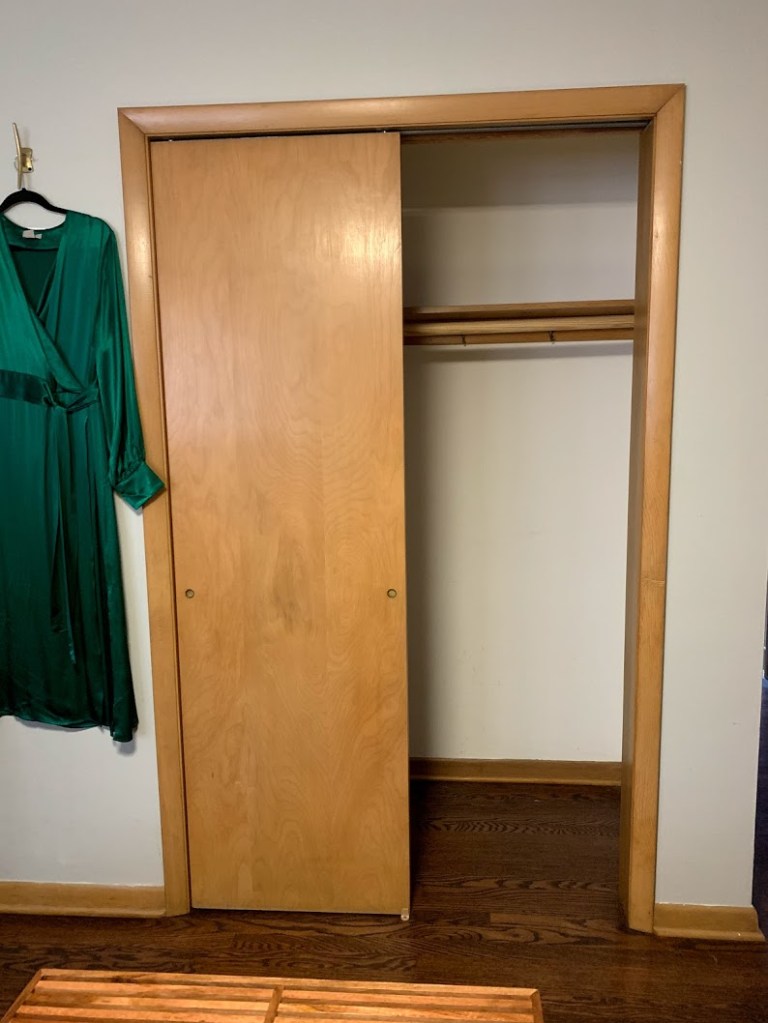

Step 2:
Remove the original organization system (ours was original to the house, and nothing fancy)

Step 3:
Putty holes and sand down any patches

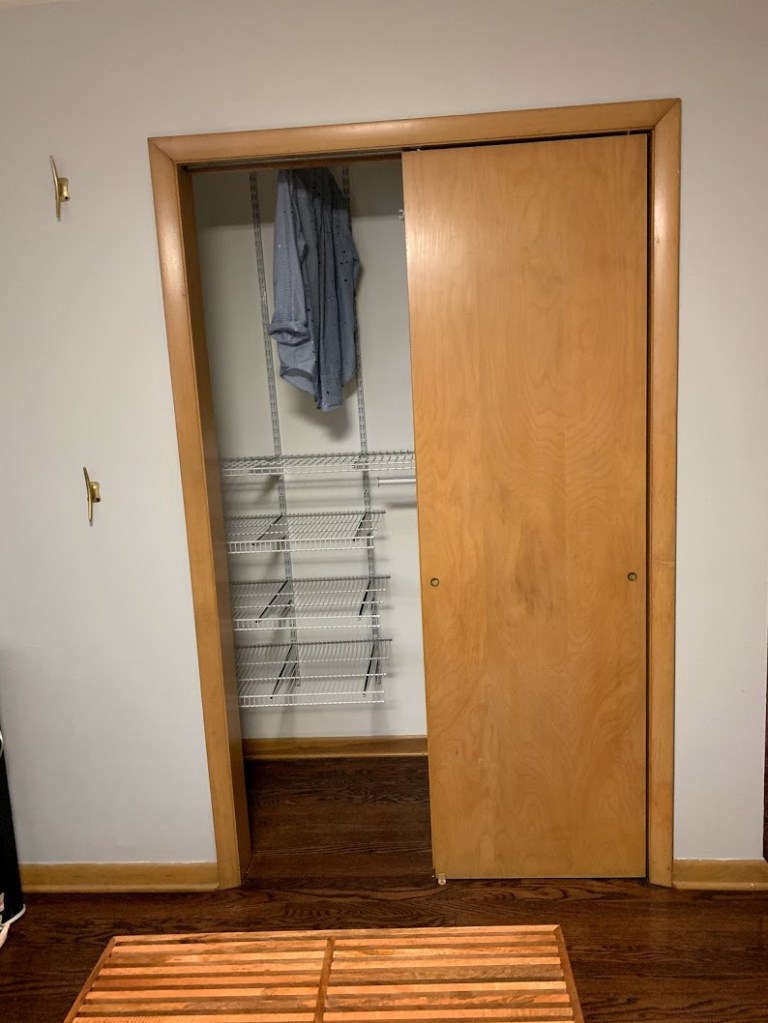
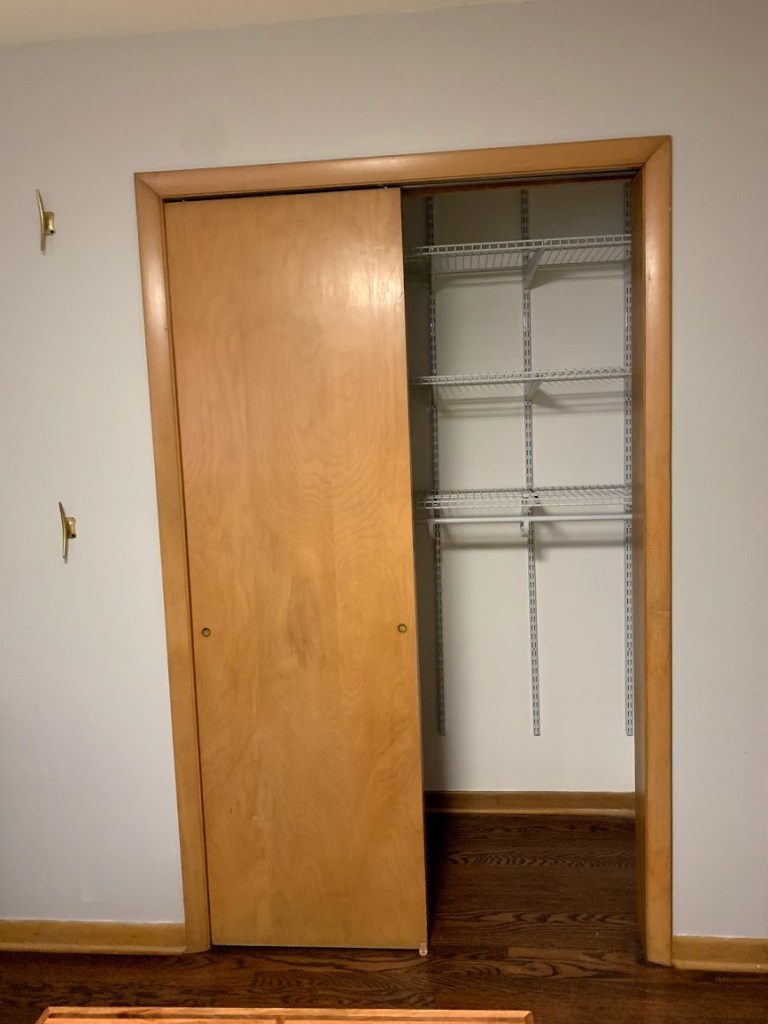
Step 4:
A fresh coat of white paint

Step 5:
Design layout

Since we went through the process of designing our closet with the Container Store, I utilized those designs as inspiration while creating our new design with the ClosetMaid products. Having the sliding doors, I wanted to ensure that we were maximizing the space we had while making each side feel like its own closet. There would be two wire racks that ran the full length of the closet that was 70″ wide x 16″ deep; one all the way to the top of the ceiling and the other cutting the closet in half.
The left side of the closet, that would have blouses and tops hung high, and then shoes and boots on the bottom. The wire racks we used for the shoes, were actually 20″ depth vs the 16″ depth that we used for the rest of the shelving. This allowed me to put 2 rows of shoes on each shelf maximizing how many shoes we could fit on each shelf (by rotating the shoes every other I fit 10 pairs of shoes on 1 shelf).
On the right side of the closet, we created 4 shelves that were 35″ wide x 16″ deep for sweaters and sweatshirts. Then hanging below, were all tank tops and jackets.
Step 6:
Install
Step 7:
Organize!
This was probably the best part of the whole process! Because of leveraging our height, we were able to make more room for my tall boots and booties that have been living in our basement.


Products featured:
White ClosetMaid shelving system:
16″ wire shelves, 20″ wire shelves, 12″ brackets, 16″ brackets, 72″ closet rod, Superslide closet rod bracket, white shelf caps, White wood trim
